This tutorial assumes you've already launched Outlook 2010.
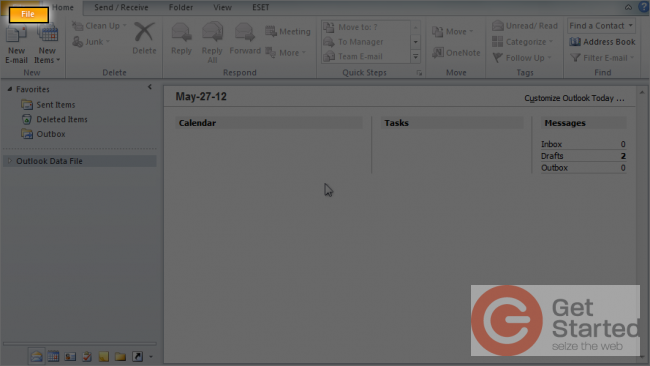
1) To configure a POP email account, first click the "File" tab.
�
2) Then click The "Add Account" button.

�
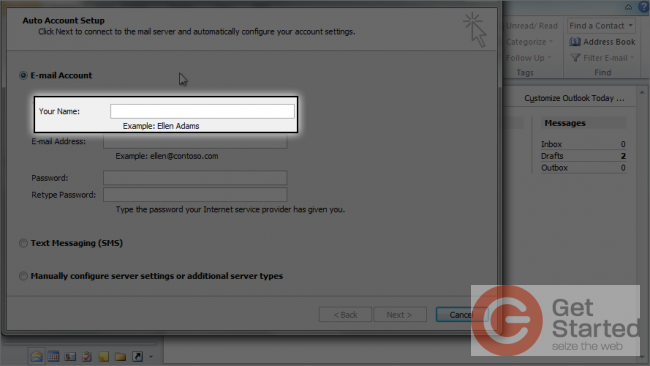
3) Enter your name as you would like it to appear in your emails.
�
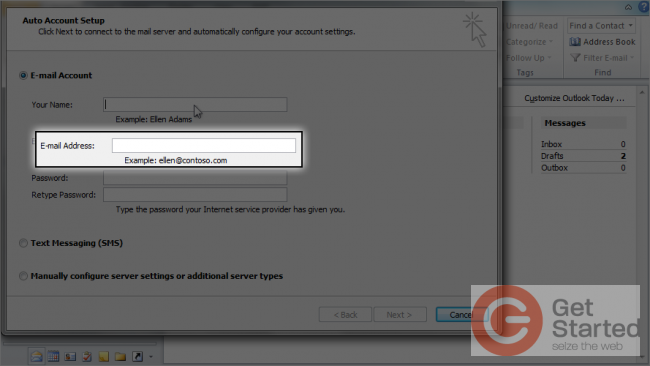
4) Then enter the email address you want to configure here.
�
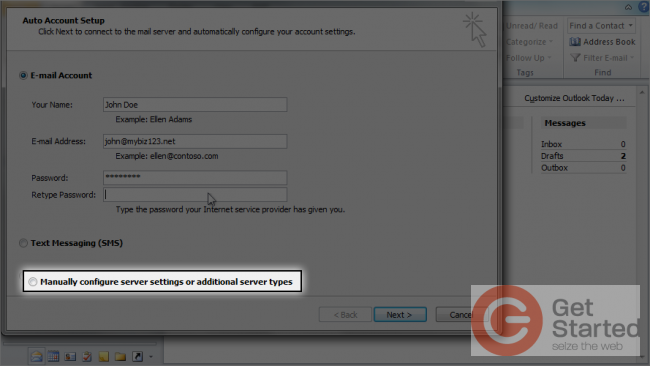
5) Enter and confirm the email account's password.

�
6) Click here to manually configure your mail server settings.
�
7) Then click "Next".

�
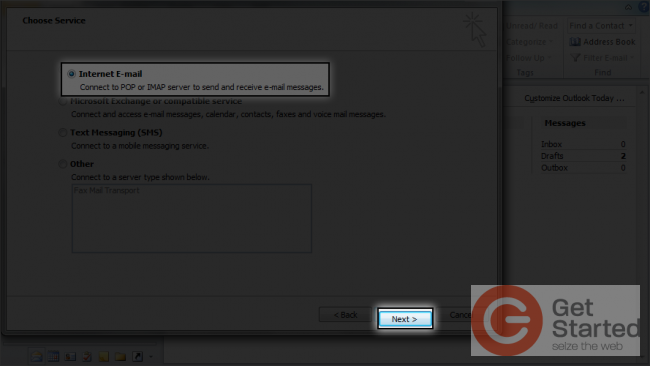
8) Ensure the "Internet E-mail" option is selected, then click "Next" again.
�
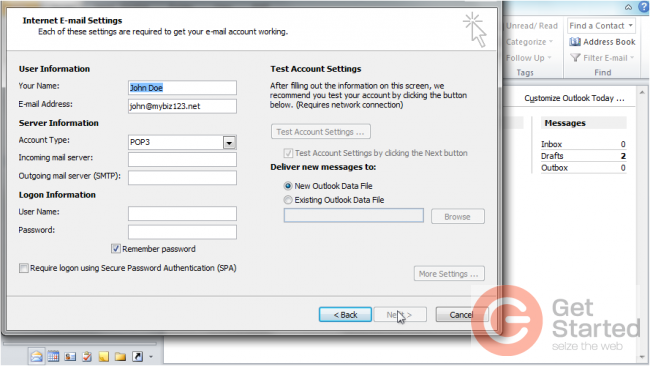
Next we have to configure our server settings.
�
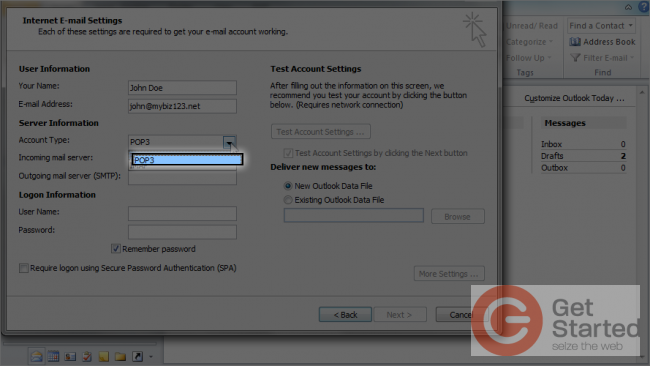
9) Ensure "POP3" is selected as the account type.
�
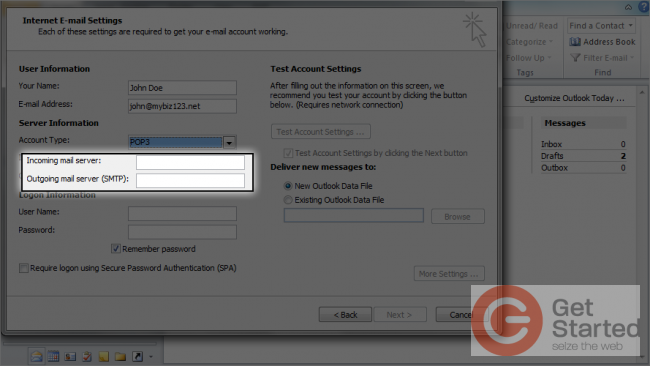
10) Then enter the incoming and outgoing mail server addresses.
�
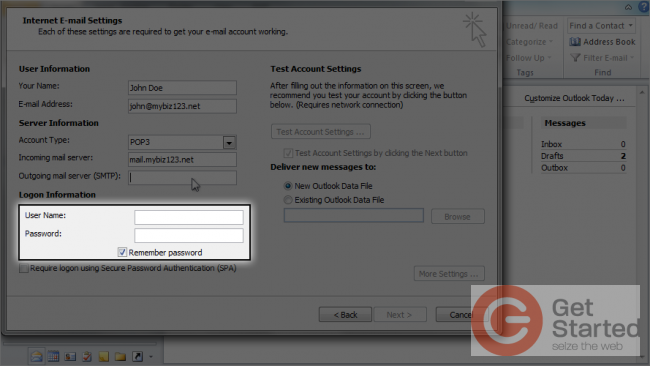
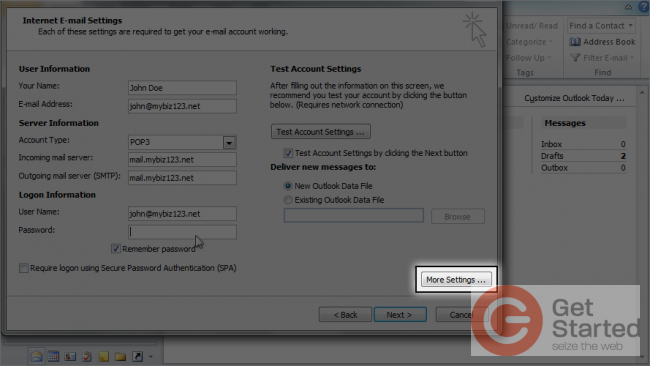
11) Enter your full email address as the user name, and the password.
�
12) Then click the "More Settings" button.
�
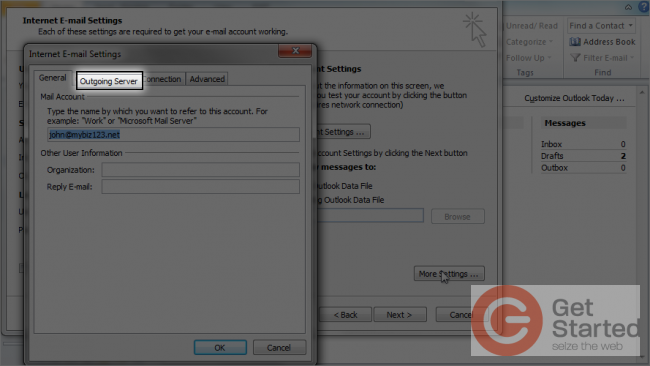
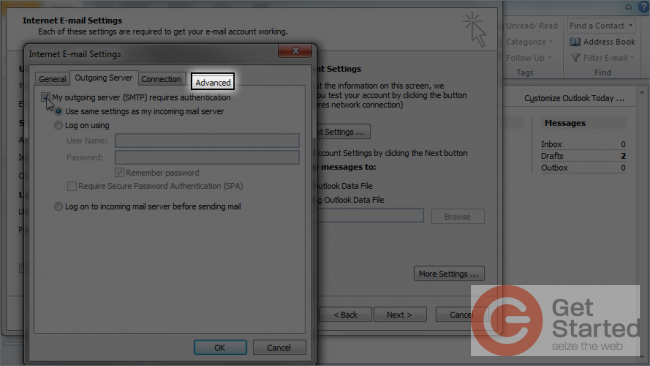
13) Click the "Outgoing Server" tab.
�
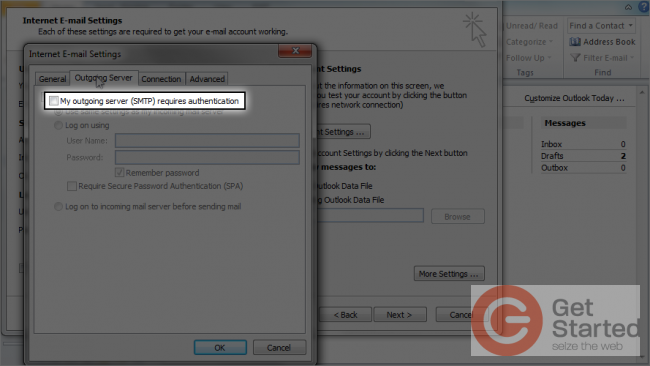
14) Then click here to require outgoing server authentication.
�
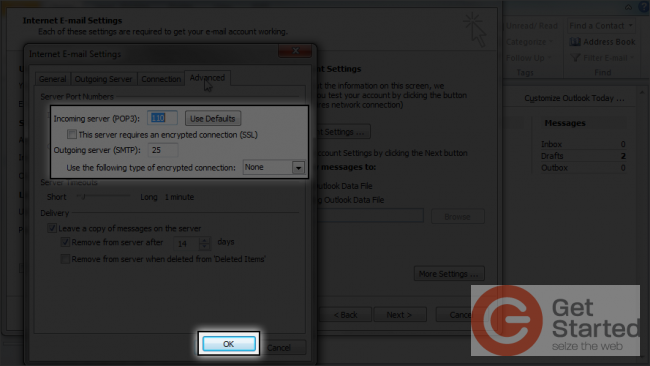
15) Click the "Advanced" tab.
�
16) If you need to change your server port numbers you can do so here... otherwise just click "OK".
�
17) Click "Next".

�
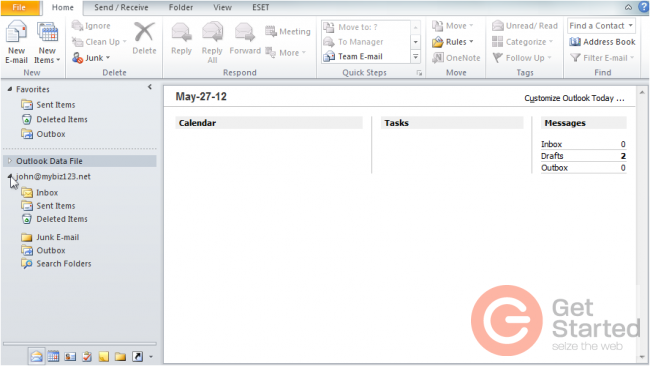
That's it! The email account has been added.
�
You now know how to configure a POP email account in Outlook 2010.
