This tutorial will show you how to setup a POP email account on your iPhone.
�
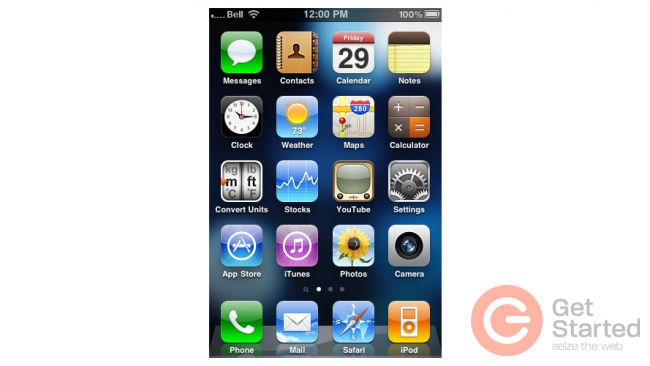
1) First, locate and press the "Settings" icon. It may be on a different screen or in a different location than shown here.
�
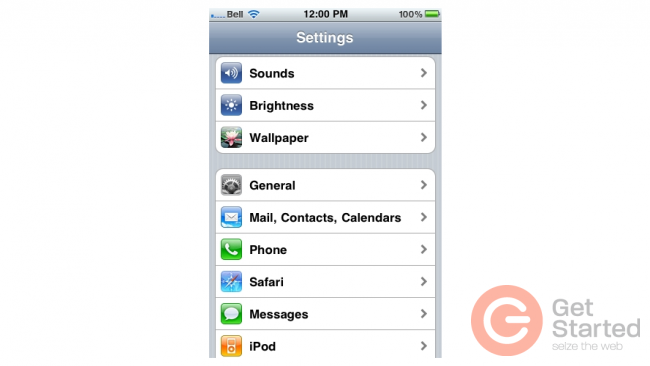
2) Then select "Mail, Contacts, Calendars".
�
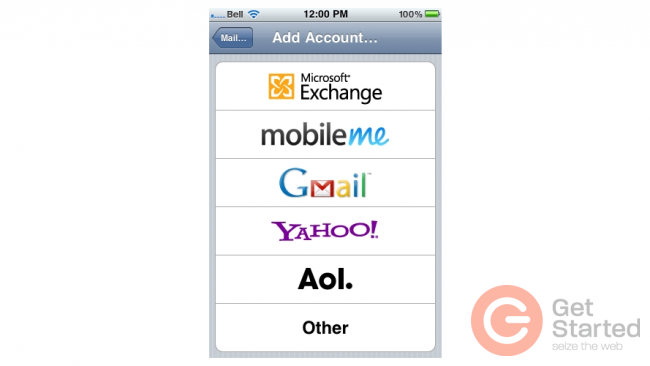
3) Select "Add Account".

�
4) Then choose "Other".
�
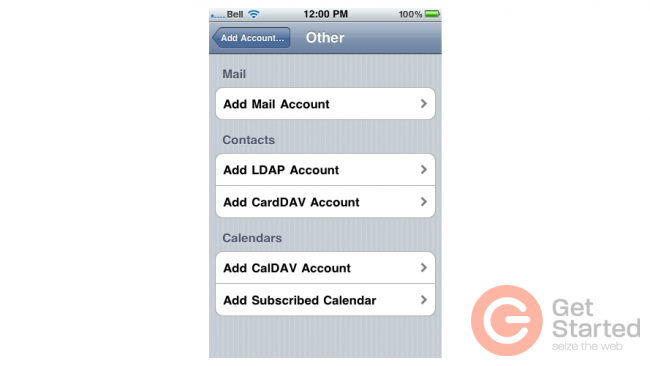
5) Press "Add Mail Account".
�
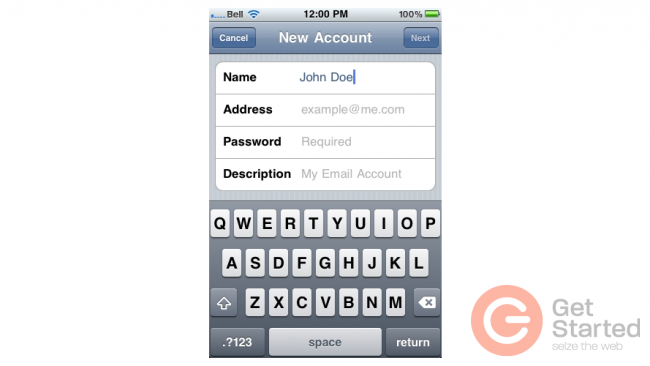
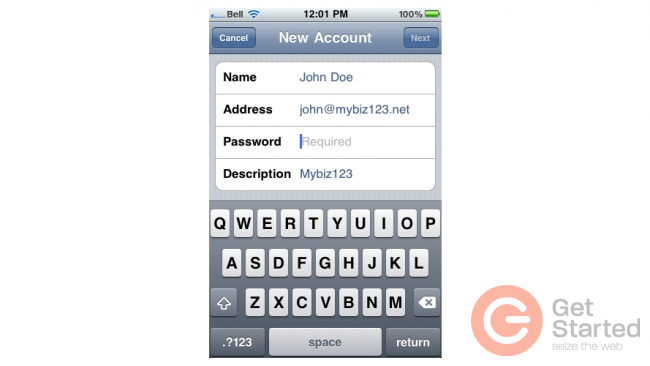
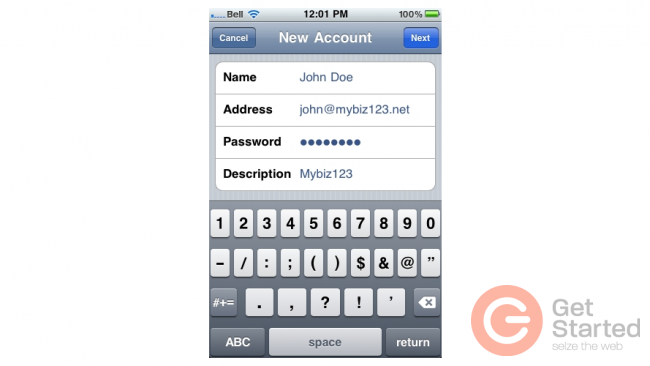
6) Enter the Name, Email address, and Email password of the email account you're adding.
�
A "Description" will automatically appear, but you can change it if you like.
�
7) When finished, press "Next".
�
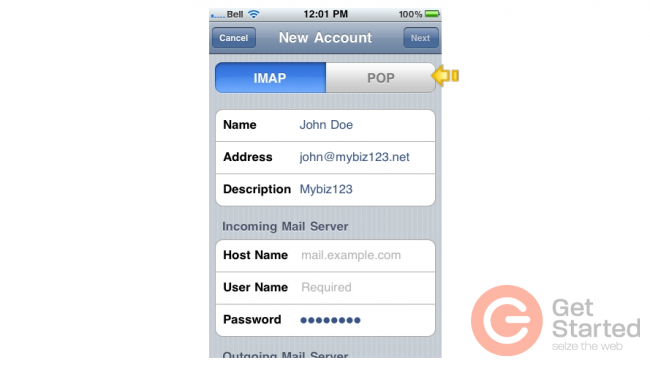
8) In this tutorial we are creating a POP account... therefore, ensure the POP option is selected here.
�
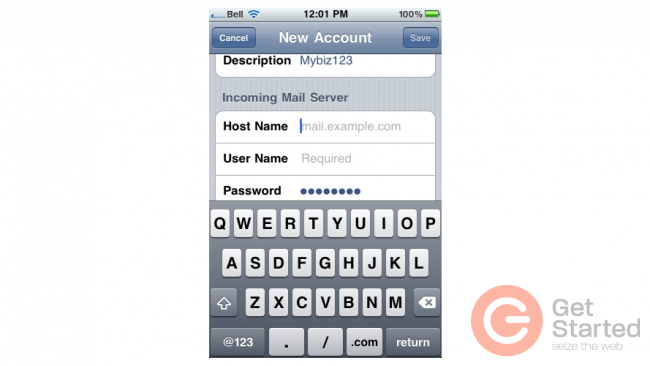
9) Next you have to enter your Incoming Mail Server settings. Enter the Host Name, User Name and Password for the Incoming Mail Server.
�
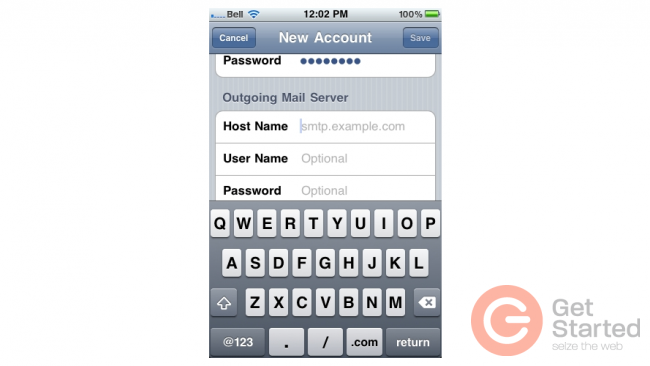
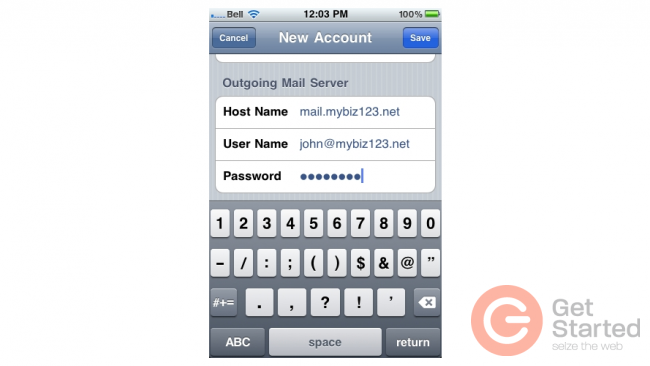
10) Next, enter the Host Name, User Name and Password for the "Outgoing" Mail Server.
�
11) When finished, press "Save".
�
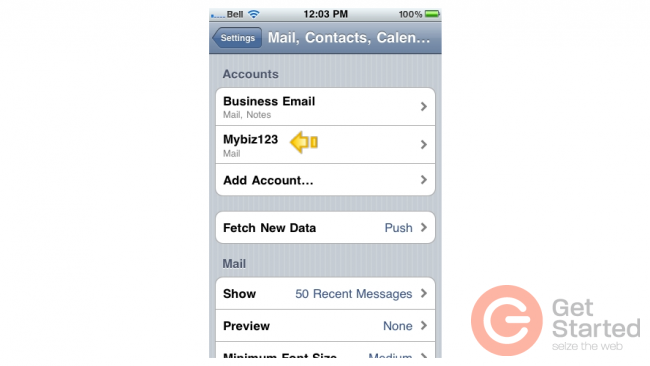
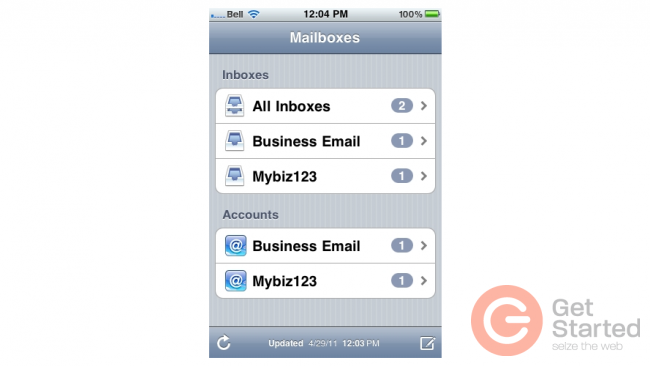
Success! The POP email account has been setup on the iPhone, and you can see it here listed under "Accounts".
�
12) Let's return to the home screen by pressing the Home button on the iPhone.
�
�
13) To check your email, press the "Mail" icon here (Note: the icon may be in a different location on your iPhone).

�
14) If you have multiple email accounts setup in your iPhone, they'll all be listed here. Select the email account we just setup...
�
15) ... and any emails in your inbox will be displayed here. Click an email header to see the email.

�
That's it! You now know how to setup a POP email account on your iPhone.
